
Welcome to the Create a Windows virtual machine in the Azure portal
Sign in to Azure
Sign in to the Azure portal at https://portal.azure.com.
Create virtual machine
Enter virtual machines in the search.
Under Services, select Virtual machines.
In the Virtual machines page, select Create and then Azure virtual machine. The Create a virtual machine page opens.
Under Instance details, enter myVM for the Virtual machine name and choose Windows Server 2019 Datacenter - Gen 2 for the Image. Leave the other defaults.
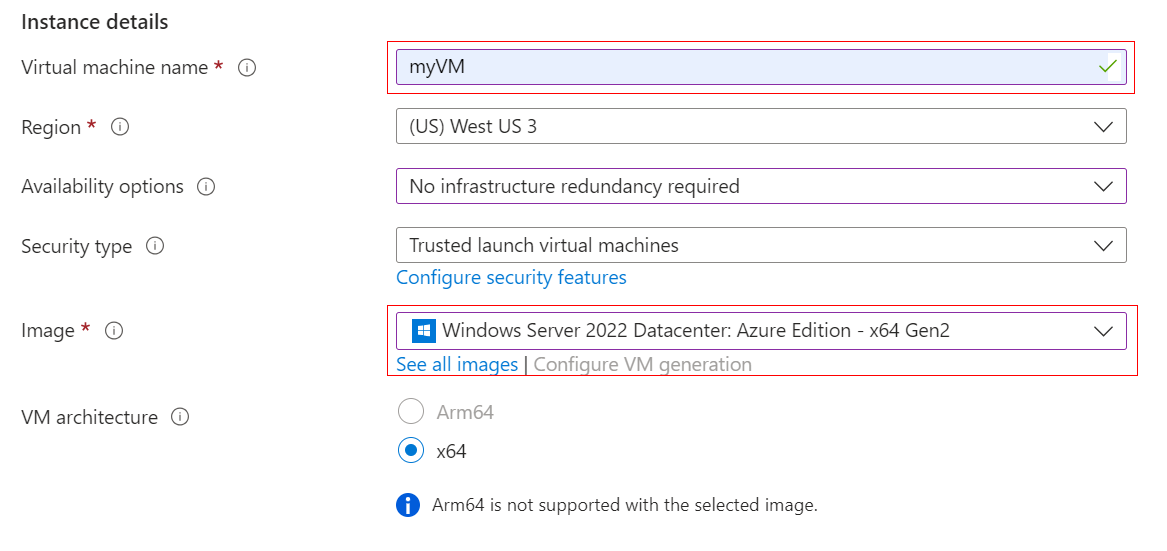
Note
Some users will now see the option to create VMs in multiple zones. To learn more about this new capability, see Create virtual machines in an availability zone.

Under Administrator account, provide a username, such as azureuser and a password. The password must be at least 12 characters long and meet the defined complexity requirements.

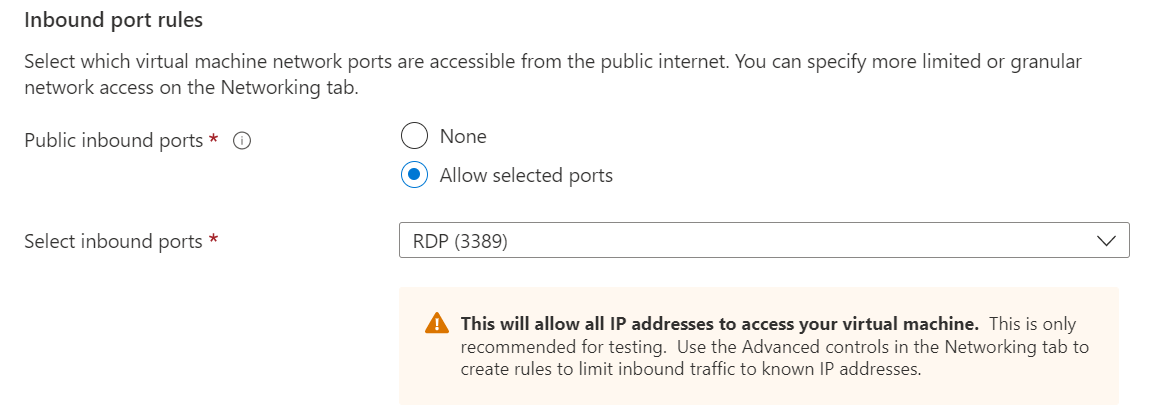
Under Inbound port rules, choose Allow selected ports and then select RDP (3389) and HTTP (80) from the drop-down.
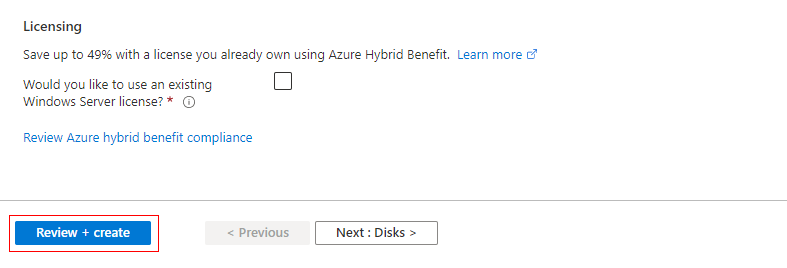
Leave the remaining defaults and then select the Review + create button at the bottom of the page.
After validation runs, select the Create button at the bottom of the page.
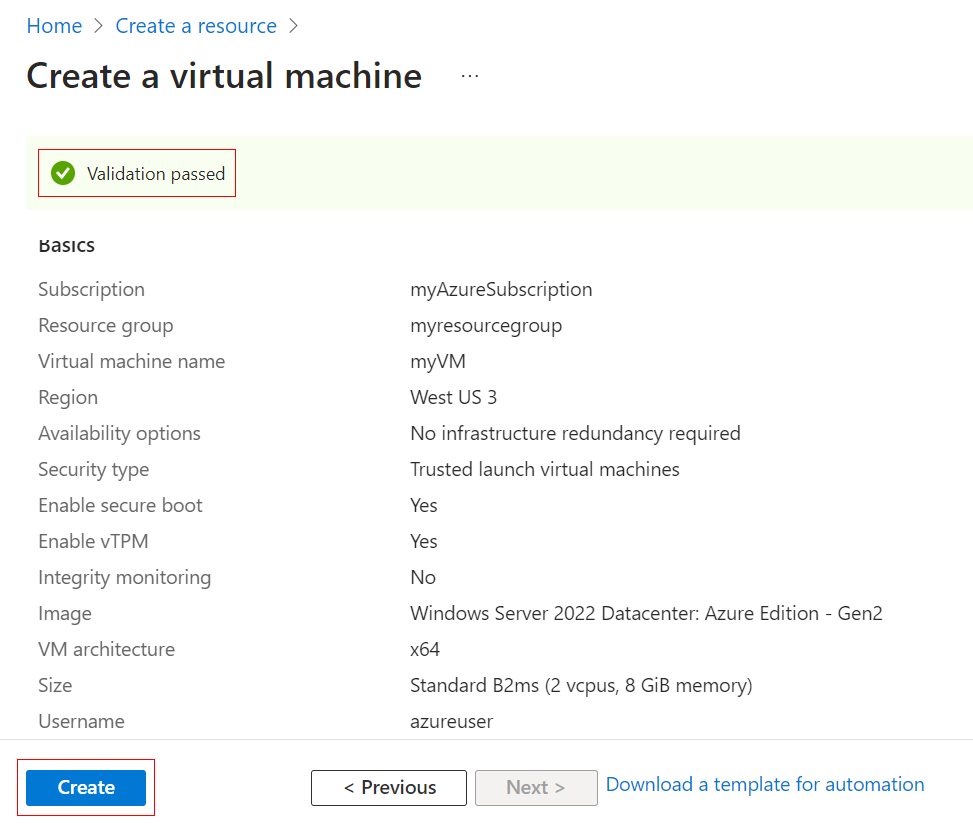
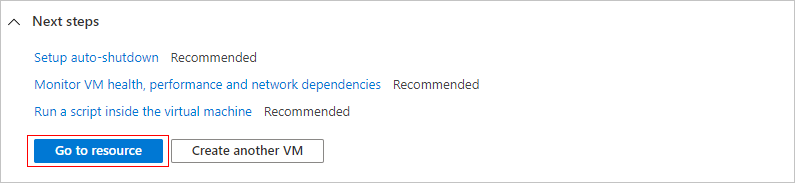
After deployment is complete, select Go to resource.
Connect to virtual machine
Create a remote desktop connection to the virtual machine. These directions tell you how to connect to your VM from a Windows computer. On a Mac, you need an RDP client such as this Remote Desktop Client from the Mac App Store.
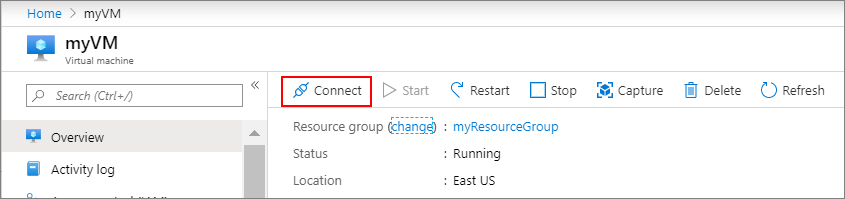
On the overview page for your virtual machine, select the Connect > RDP.
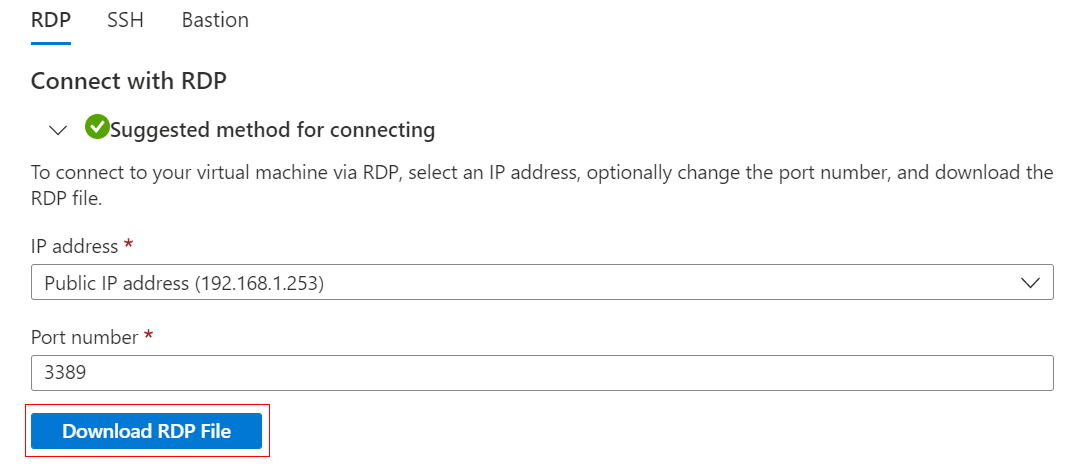
In the Connect with RDP tab, keep the default options to connect by IP address, over port 3389, and click Download RDP file.
Open the downloaded RDP file and click Connect when prompted.
In the Windows Security window, select More choices and then Use a different account. Type the username as localhost\username, enter the password you created for the virtual machine, and then click OK.
You may receive a certificate warning during the sign-in process. Click Yes or Continue to create the connection.
Install web server
To see your VM in action, install the IIS web server. Open a PowerShell prompt on the VM and run the following command:
Install-WindowsFeature -name Web-Server -IncludeManagementTools
When done, close the RDP connection to the VM.
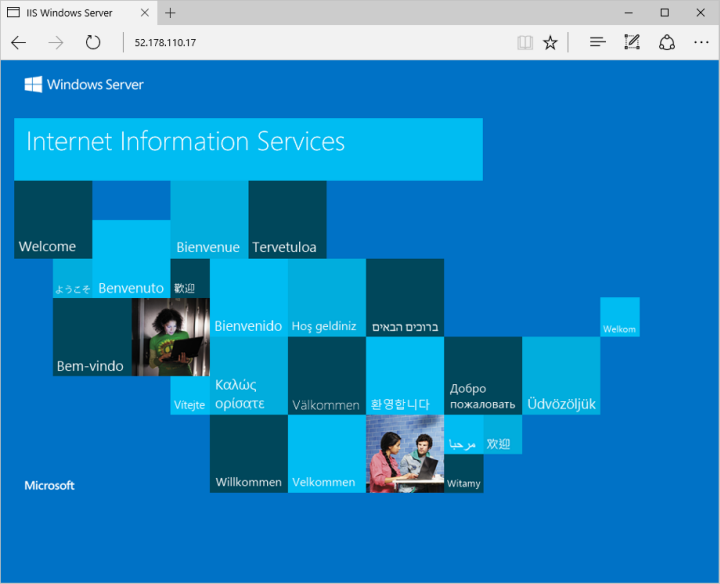
View the IIS welcome page
In the portal, select the VM and in the overview of the VM, hover over the IP address to show Copy to clipboard. Copy the IP address and paste it into a browser tab. The default IIS welcome page will open, and should look like this:
Clean up resources
When no longer needed, you can delete the resource group, virtual machine, and all related resources.
- On the Overview page for the VM, select the Resource group link.
- At the top of the page for the resource group, select Delete resource group.
- A page will open warning you that you are about to delete resources. Type the name of the resource group and select Delete to finish deleting the resources and the resource group.


0 Comments